Driving Theory Test
Driving Theory Test

Traffic Signs

Browse 168 signs in this category

168 signs

Signs giving orders

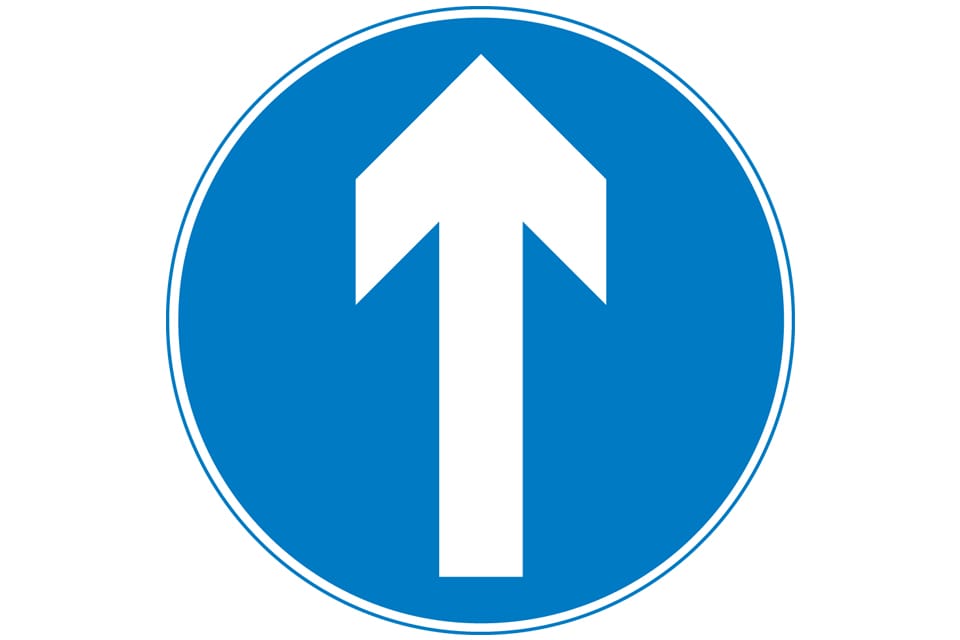
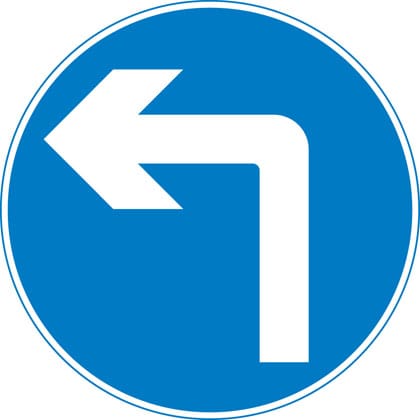
Signs with blue circles but no red border mostly give positive instruction.

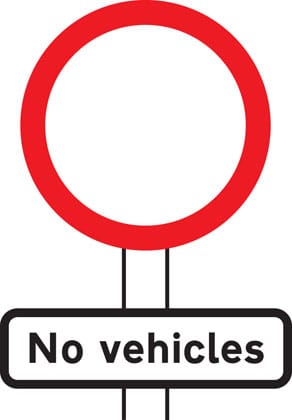
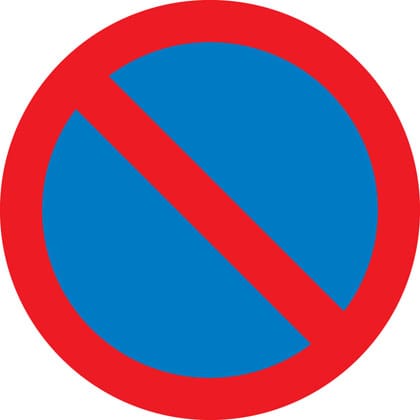
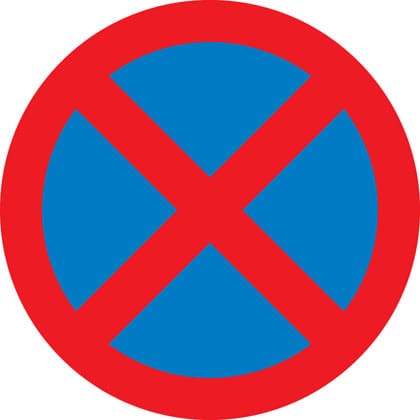
Signs with red circles are mostly prohibitive. Plates below signs qualify their message.
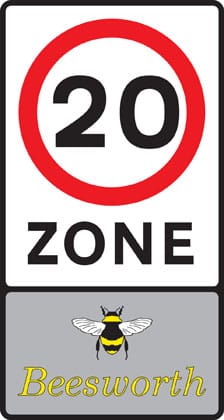
Entry to 20 mph zone
Entry to 20 mph zone - Image 1
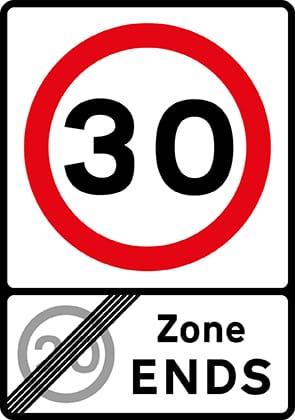
End of 20 mph zone
End of 20 mph zone - Image 1
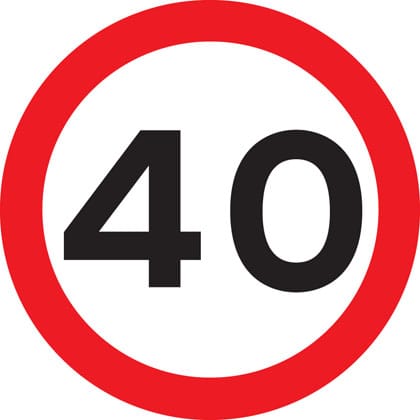
Maximum speed
Maximum speed - Image 1
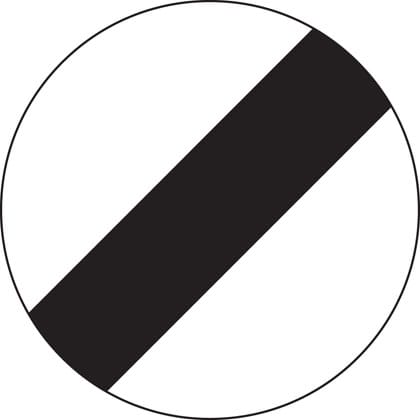
National speed limit applies
National speed limit applies - Image 1
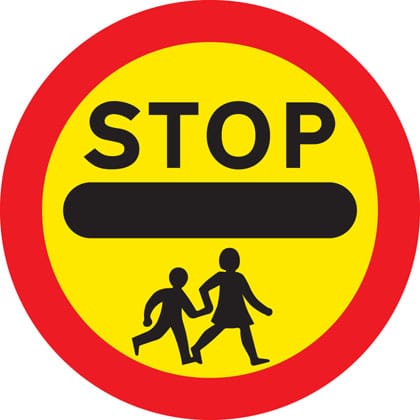
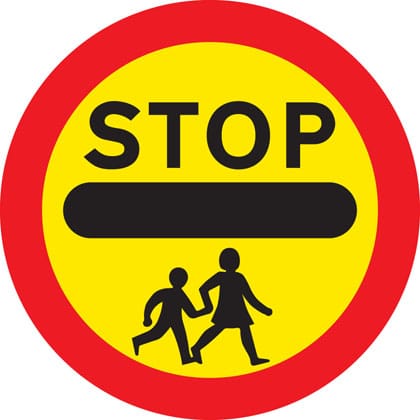
School crossing patrol
School crossing patrol - Image 1
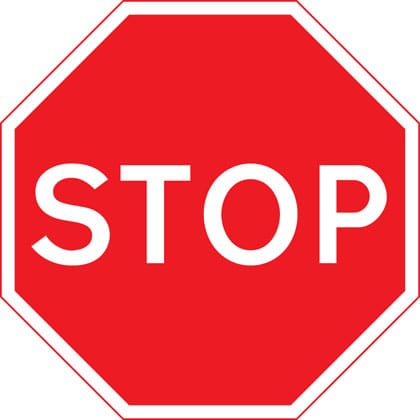
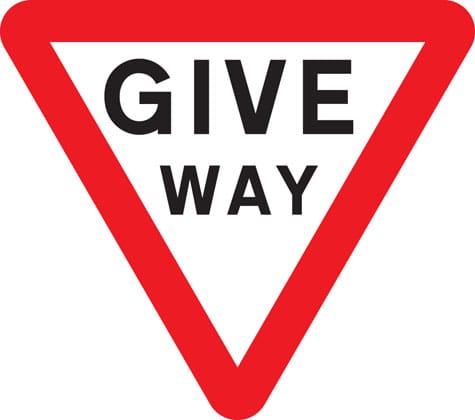
Stop and give way
Stop and give way - Image 1
Give way to traffic on major road
Give way to traffic on major road - Image 1
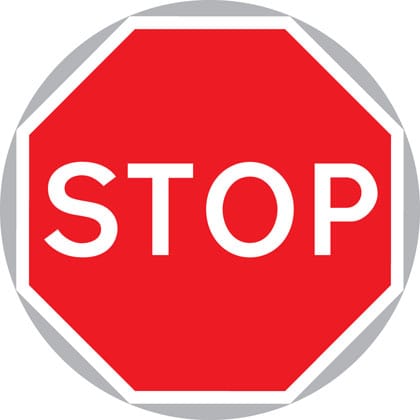
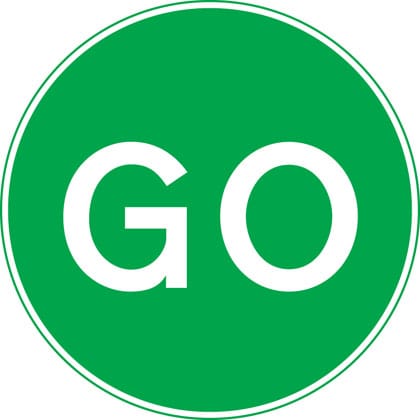
Manually operated temporary STOP and GO signs
Manually operated temporary STOP and GO signs - Image 1
Manually operated temporary STOP and GO signs
Manually operated temporary STOP and GO signs - Image 1
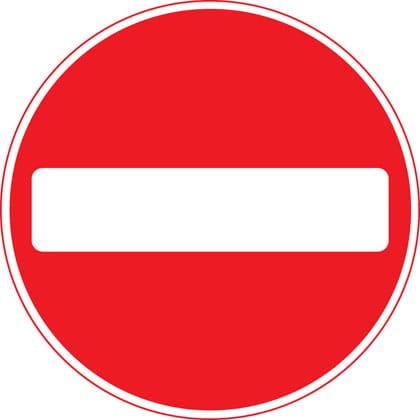
No entry for vehicular traffic
No entry for vehicular traffic - Image 1
No vehicles except bicycles being pushed
No vehicles except bicycles being pushed - Image 1
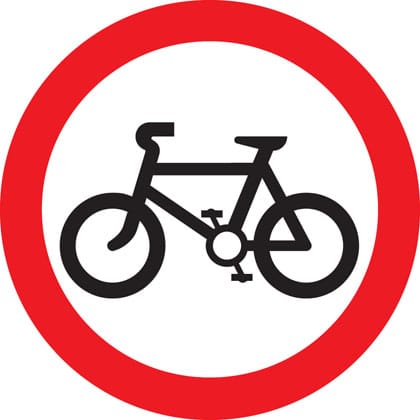
No cycling
No cycling - Image 1
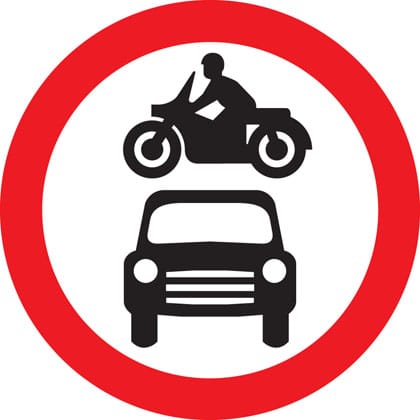
No motor vehicles
No motor vehicles - Image 1
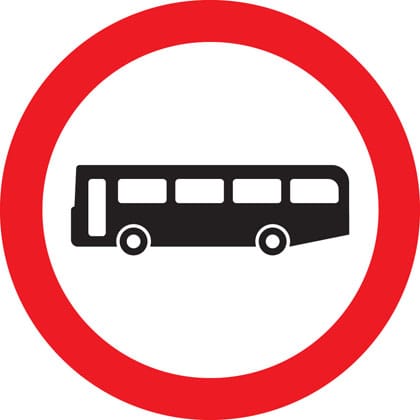
No buses (over 8 passenger seats)
No buses (over 8 passenger seats) - Image 1
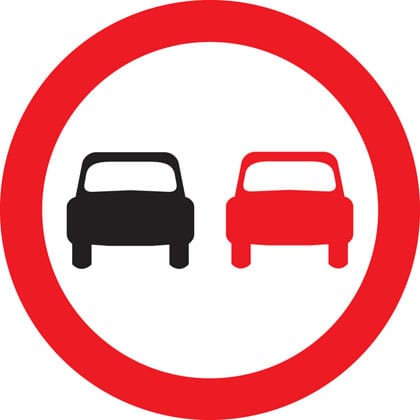
No overtaking
No overtaking - Image 1
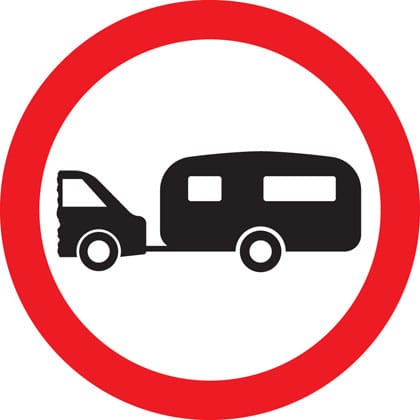
No towed caravans
No towed caravans - Image 1
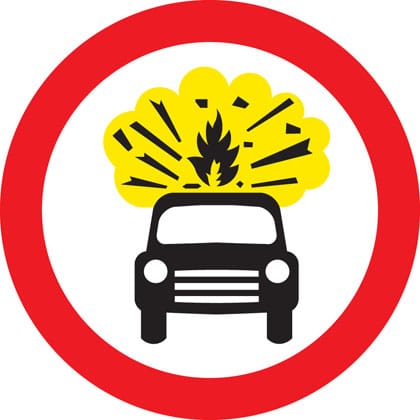
No vehicles carrying explosives
No vehicles carrying explosives - Image 1
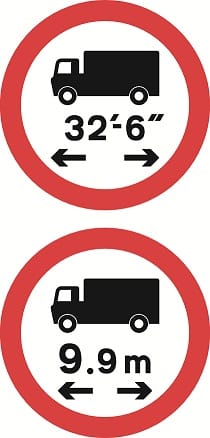
No vehicle or combination of vehicles over length shown
No vehicle or combination of vehicles over length shown - Image 1
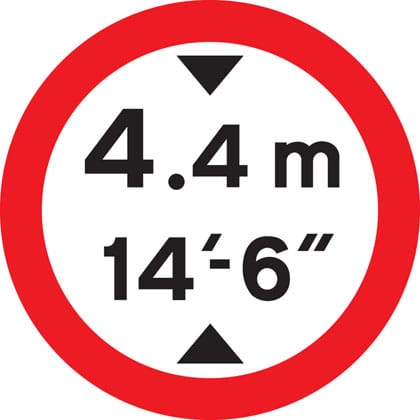
No vehicles over height shown
No vehicles over height shown - Image 1
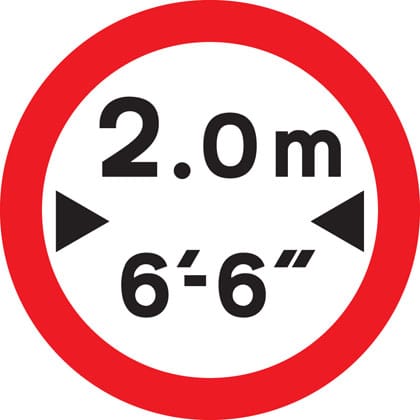
No vehicles over width shown
No vehicles over width shown - Image 1
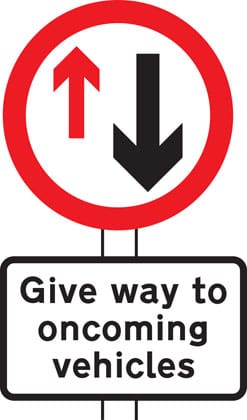
Give priority to vehicles from opposite direction
Give priority to vehicles from opposite direction - Image 1
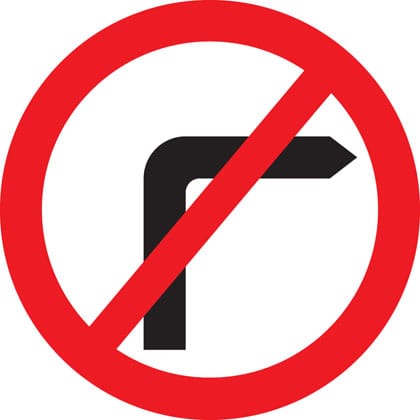
No right turn
No right turn - Image 1
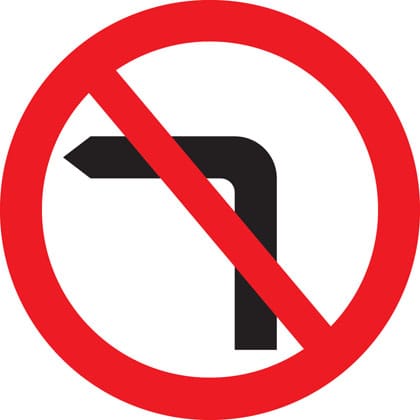
No left turn
No left turn - Image 1
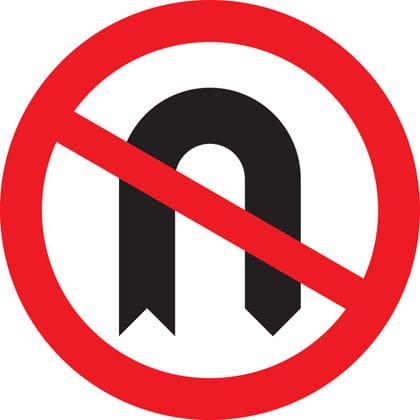
No U-turns
No U-turns - Image 1
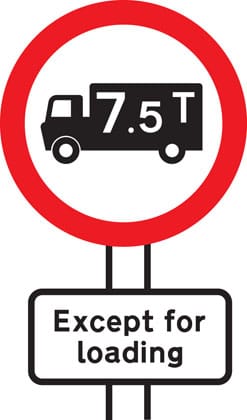
No goods vehicles over maximum gross weight shown (in tonnes) except for loading and unloading
No goods vehicles over maximum gross weight shown (in tonnes) except for loading and unloading - Image 1
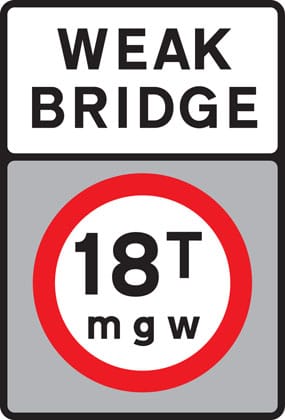
No vehicles over maximum gross weight shown (in tonnes)
No vehicles over maximum gross weight shown (in tonnes) - Image 1
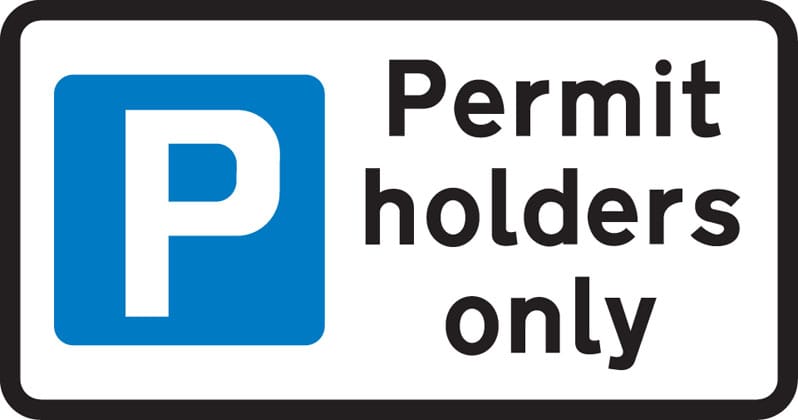
Parking restricted to permit holders
Parking restricted to permit holders - Image 1
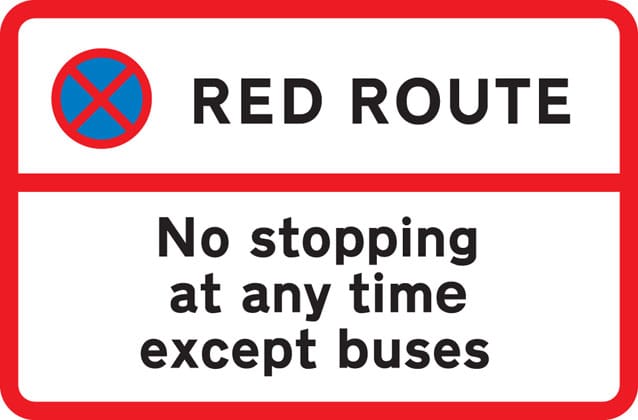
No stopping during period indicated except for buses
No stopping during period indicated except for buses - Image 1
No stopping during times shown except for as long as necessary to set down or pick up passengers
No stopping during times shown except for as long as necessary to set down or pick up passengers - Image 1
No waiting
No waiting - Image 1
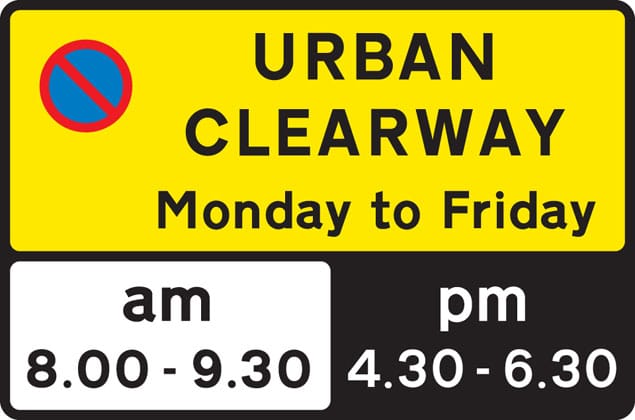
No stopping (Clearway)
No stopping (Clearway) - Image 1
Ahead only
Ahead only - Image 1
Turn left ahead (right if symbol reversed)
Turn left ahead (right if symbol reversed) - Image 1
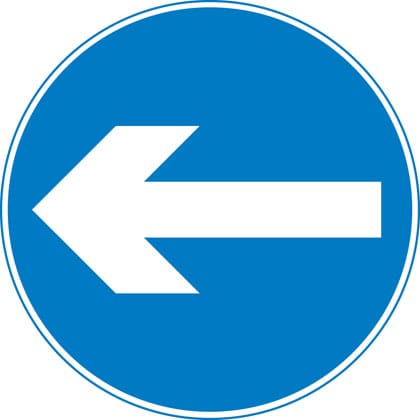
Turn left (right if symbol reversed)
Turn left (right if symbol reversed) - Image 1
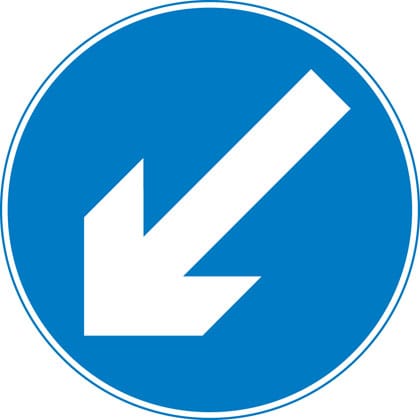
Keep left (right if symbol reversed)
Keep left (right if symbol reversed) - Image 1
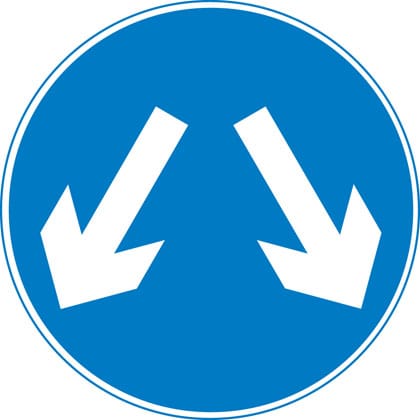
Vehicles may pass either side to reach same destination
Vehicles may pass either side to reach same destination - Image 1
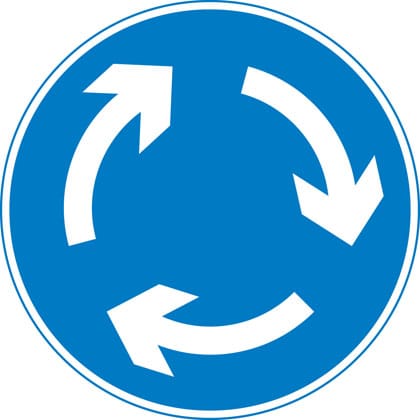
Mini-roundabout (roundabout circulation - give way to vehicles from the immediate right)
Mini-roundabout (roundabout circulation - give way to vehicles from the immediate right) - Image 1
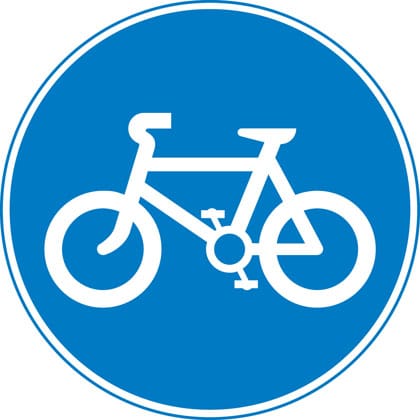
Route to be used by pedal cycles only
Route to be used by pedal cycles only - Image 1
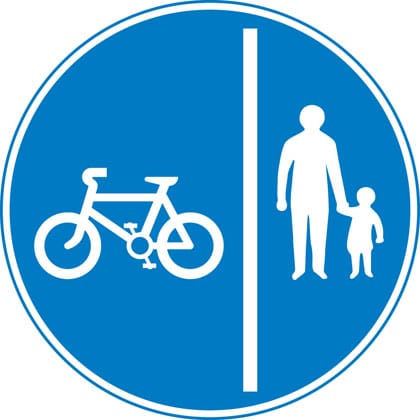
Segregated pedal cycle and pedestrian route
Segregated pedal cycle and pedestrian route - Image 1
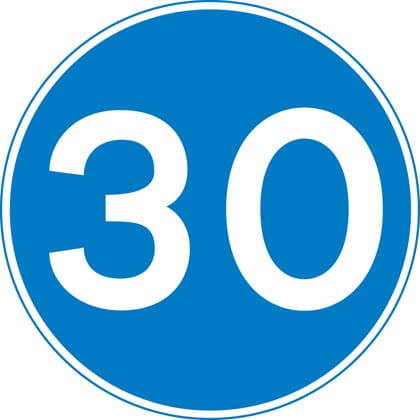
Minimum speed
Minimum speed - Image 1
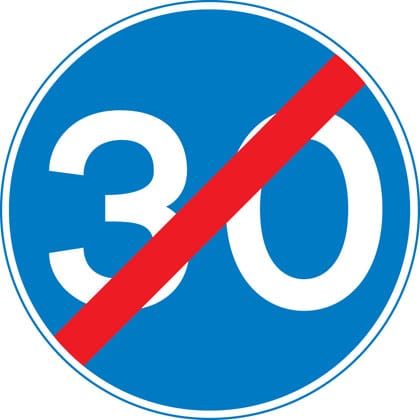
End of minimum speed
End of minimum speed - Image 1
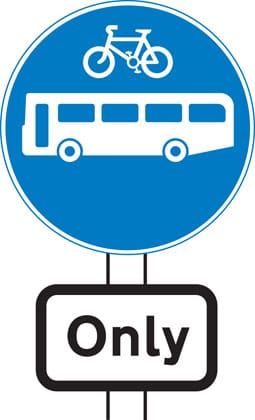
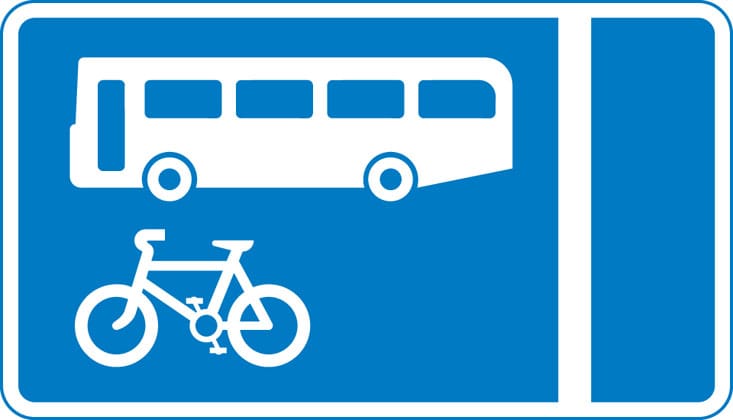
Buses and cycles only
Buses and cycles only - Image 1
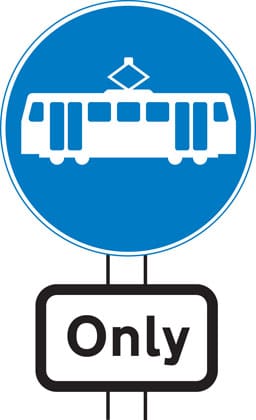
Trams only
Trams only - Image 1
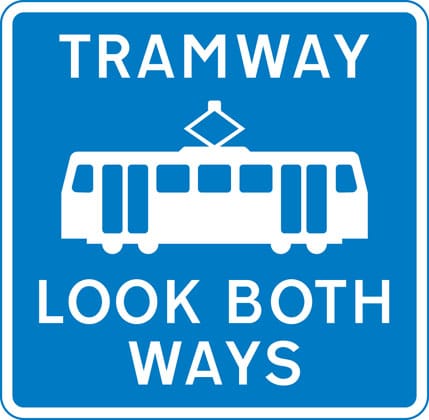
Pedestrian crossing point over tramway
Pedestrian crossing point over tramway - Image 1
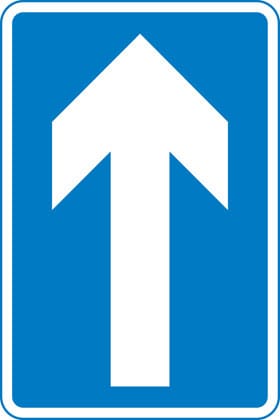
One-way traffic (note: compare circular ‘Ahead only’ sign)
One-way traffic (note: compare circular ‘Ahead only’ sign) - Image 1
With-flow bus and cycle lane
With-flow bus and cycle lane - Image 1
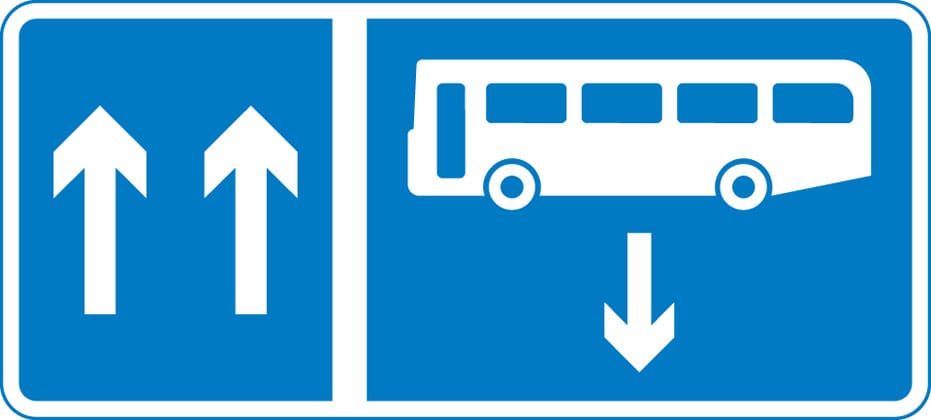
Contra-flow bus lane
Contra-flow bus lane - Image 1
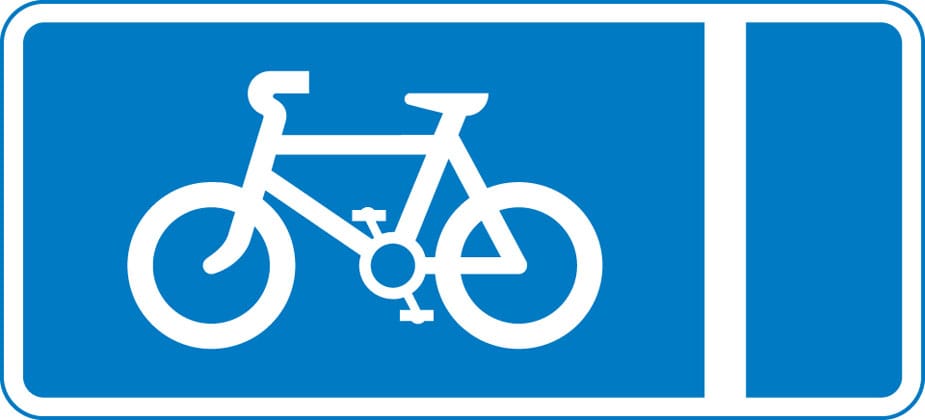
With-flow pedal cycle lane
With-flow pedal cycle lane - Image 1

Warning signs

Mostly triangular

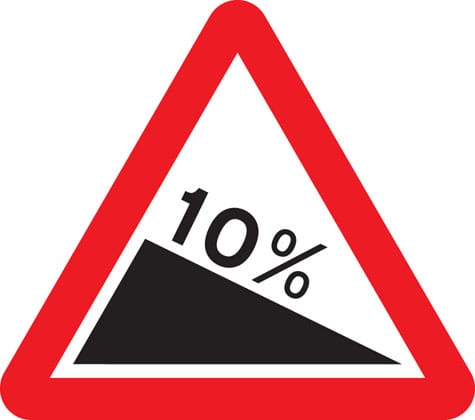
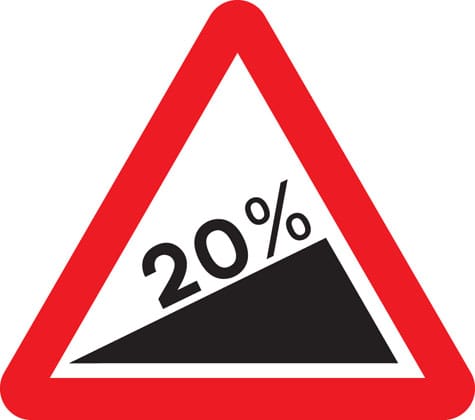
The priority through route is indicated by the broader line. Gradients may be shown as a ratio i.e. 20% = 1:5
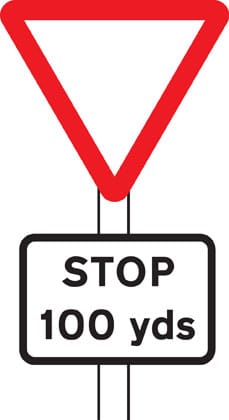
Distance to ‘STOP’ line ahead
Distance to ‘STOP’ line ahead - Image 1
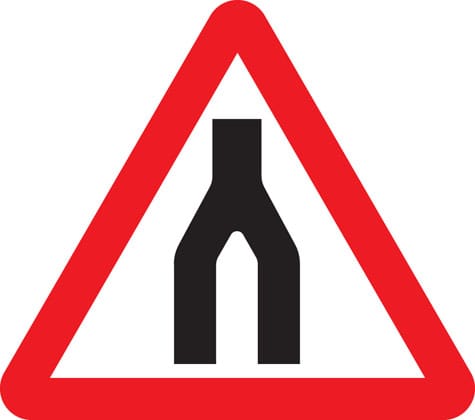
Dual carriageway ends
Dual carriageway ends - Image 1
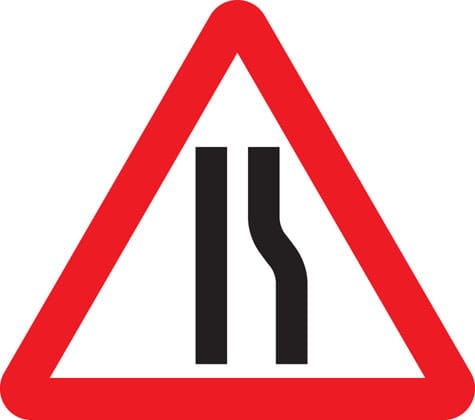
Road narrows on right (left if symbol reversed)
Road narrows on right (left if symbol reversed) - Image 1
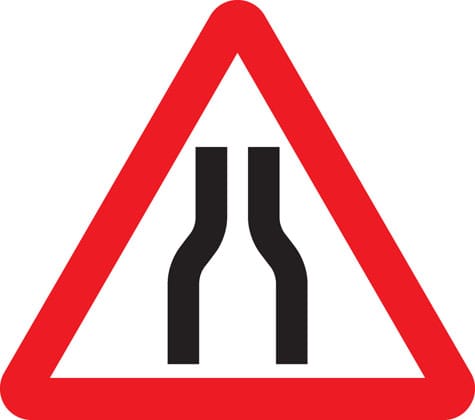
Road narrows on both sides
Road narrows on both sides - Image 1
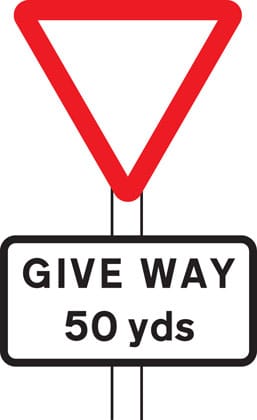
Distance to ‘Give Way’ line ahead
Distance to ‘Give Way’ line ahead - Image 1
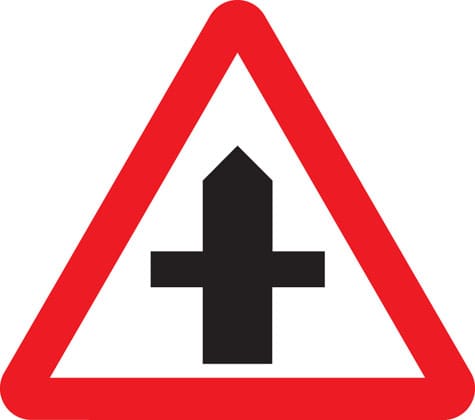
Crossroads
Crossroads - Image 1
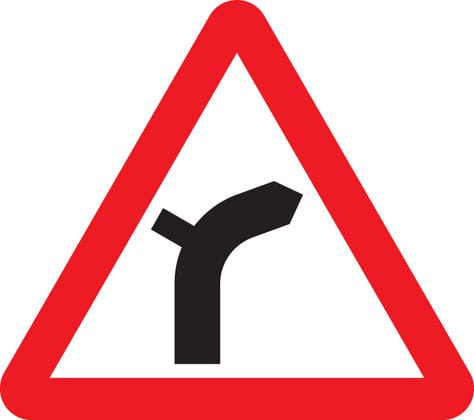
Junction on bend ahead
Junction on bend ahead - Image 1
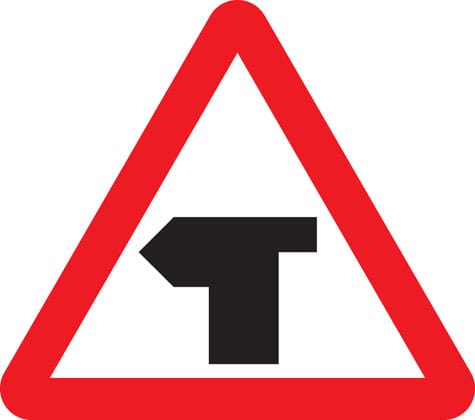
T-junction with priority over vehicles from the right
T-junction with priority over vehicles from the right - Image 1
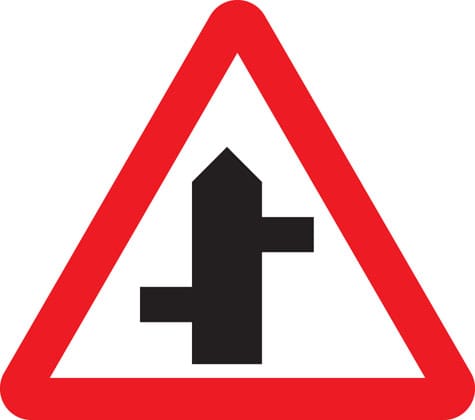
Staggered junction
Staggered junction - Image 1
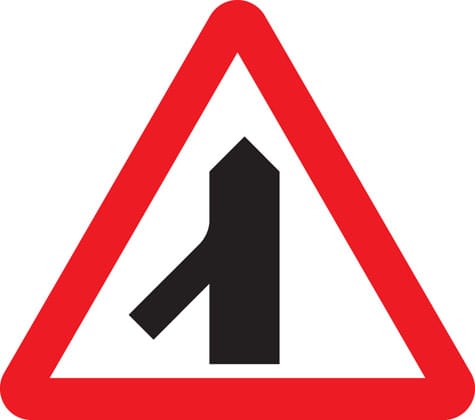
Traffic merging from left ahead
Traffic merging from left ahead - Image 1
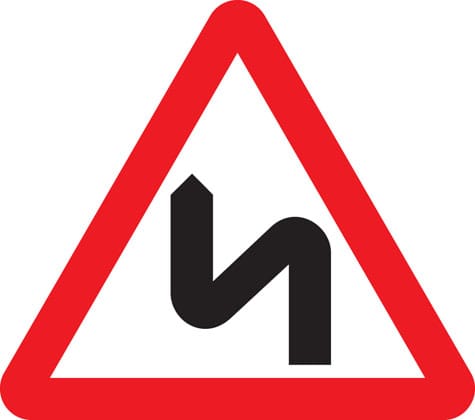
Double bend first to left (symbol may be reversed)
Double bend first to left (symbol may be reversed) - Image 1
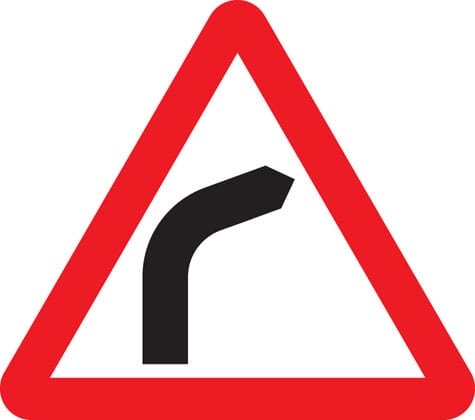
Bend to right (or left if symbol reversed)
Bend to right (or left if symbol reversed) - Image 1
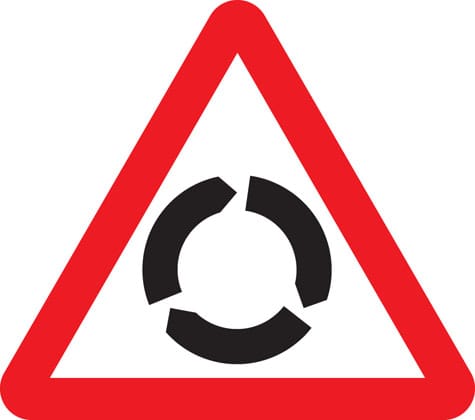
Roundabout
Roundabout - Image 1
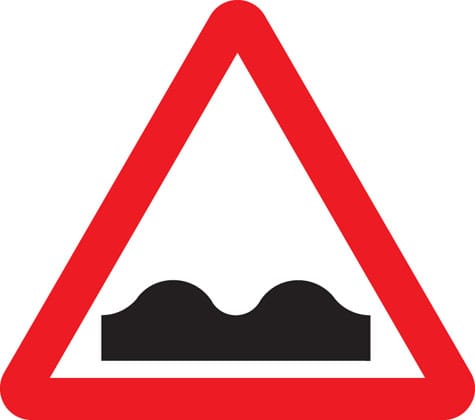
Uneven road
Uneven road - Image 1
Plate below some signs
Plate below some signs - Image 1
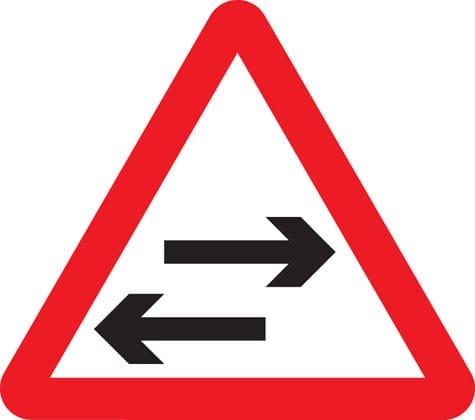
Two-way traffic crosses one-way road
Two-way traffic crosses one-way road - Image 1
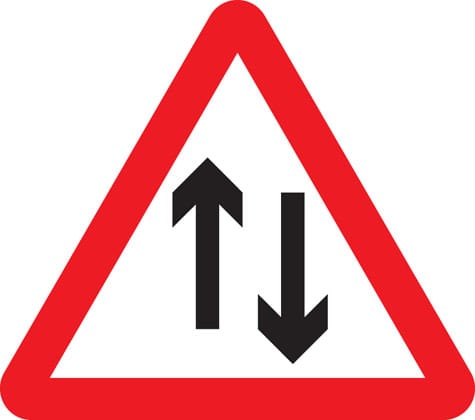
Two-way traffic straight ahead
Two-way traffic straight ahead - Image 1
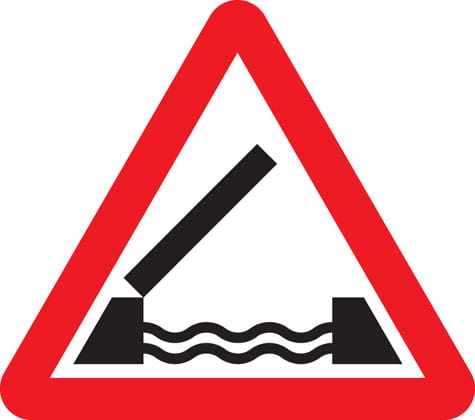
Opening or swing bridge ahead
Opening or swing bridge ahead - Image 1
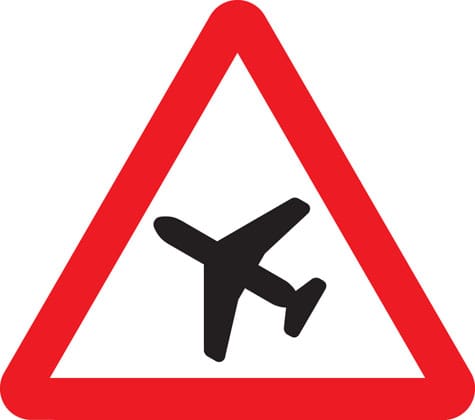
Low-flying aircraft or sudden aircraft noise
Low-flying aircraft or sudden aircraft noise - Image 1
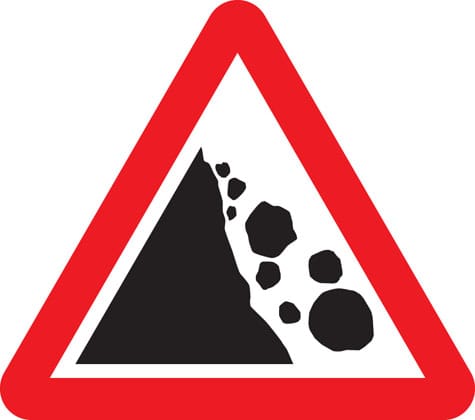
Falling or fallen rocks
Falling or fallen rocks - Image 1
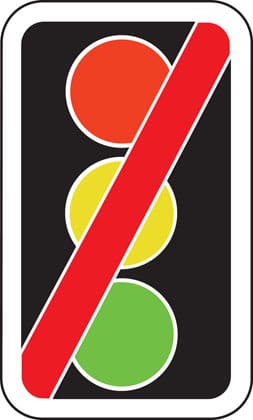
Traffic signals not in use
Traffic signals not in use - Image 1
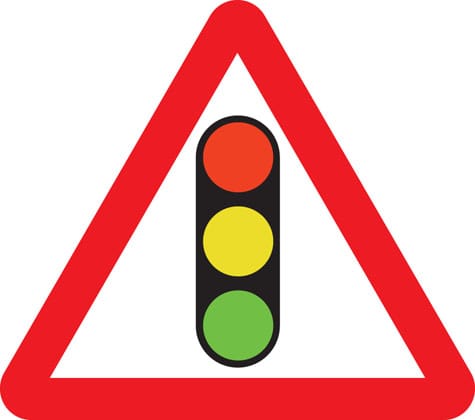
Traffic signals
Traffic signals - Image 1
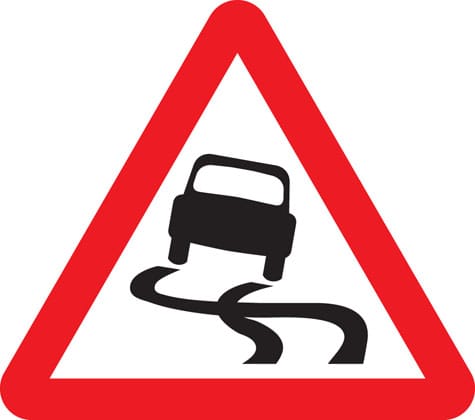
Slippery road
Slippery road - Image 1
Steep hill downwards
Steep hill downwards - Image 1
Steep hill upwards
Steep hill upwards - Image 1
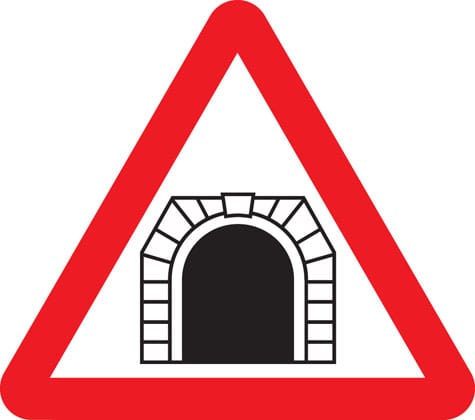
Tunnel ahead
Tunnel ahead - Image 1
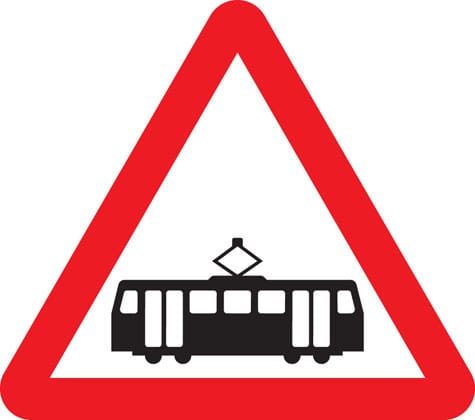
Trams crossing ahead
Trams crossing ahead - Image 1
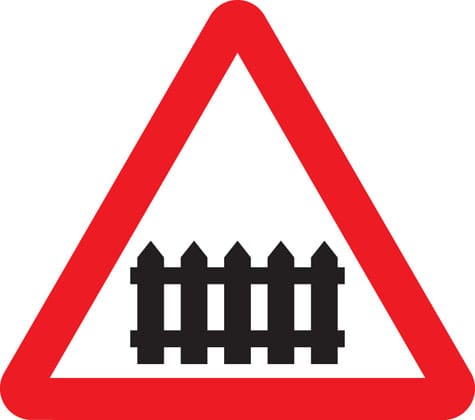
Level crossing with barrier or gate ahead
Level crossing with barrier or gate ahead - Image 1
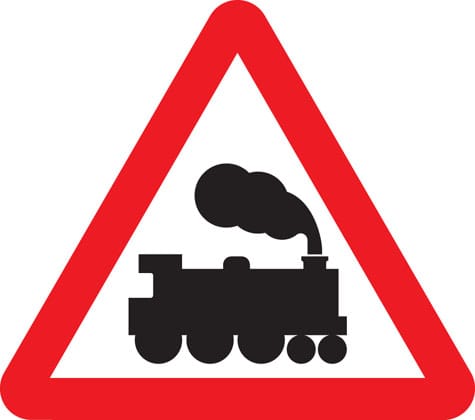
Level crossing without barrier or gate ahead
Level crossing without barrier or gate ahead - Image 1
Level crossing without barrier
Level crossing without barrier - Image 1
School crossing patrol ahead (some signs have amber lights which flash when crossings are in use)
School crossing patrol ahead (some signs have amber lights which flash when crossings are in use) - Image 1
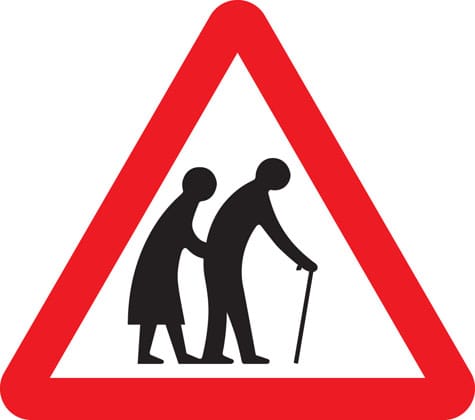
Frail (or blind or disabled if shown) pedestrians likely to cross road ahead
Frail (or blind or disabled if shown) pedestrians likely to cross road ahead - Image 1
Pedestrians in road ahead
Pedestrians in road ahead - Image 1
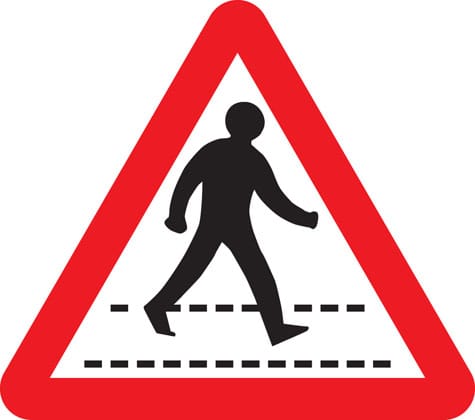
Zebra crossing
Zebra crossing - Image 1
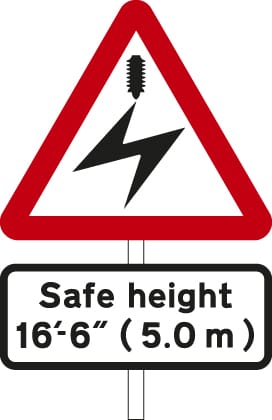
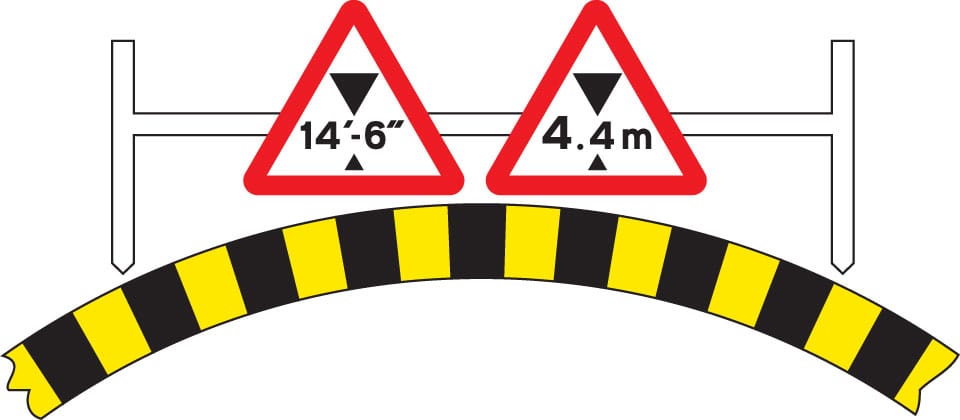
Overhead electric cable; plate indicates maximum height of vehicles which can pass safely
Overhead electric cable; plate indicates maximum height of vehicles which can pass safely - Image 1
Available width of headroom indicated
Available width of headroom indicated - Image 1
Sharp deviation of route to left (or right if chevrons reversed)
Sharp deviation of route to left (or right if chevrons reversed) - Image 1
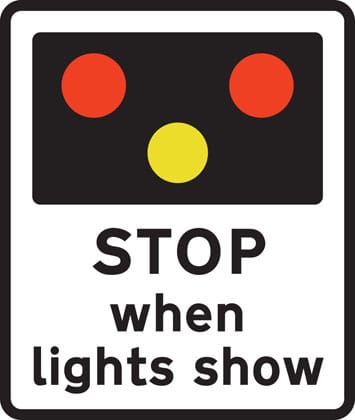
Light signals ahead at level crossing, airfield or bridge
Light signals ahead at level crossing, airfield or bridge - Image 1
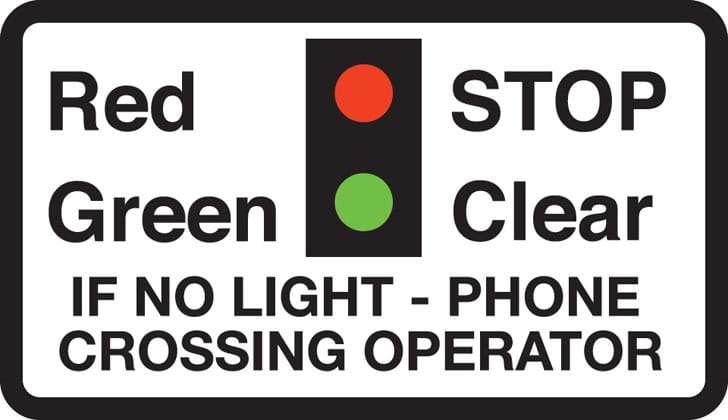
Miniature warning lights at level crossings
Miniature warning lights at level crossings - Image 1
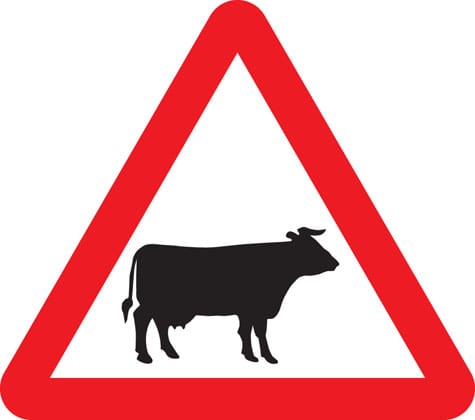
Cattle
Cattle - Image 1
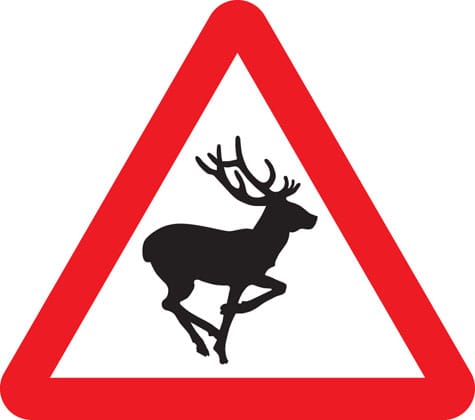
Wild animals
Wild animals - Image 1
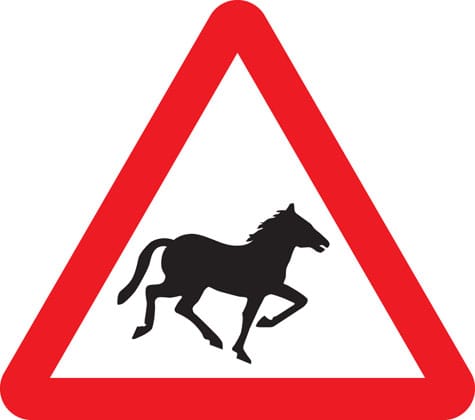
Wild horses or ponies
Wild horses or ponies - Image 1
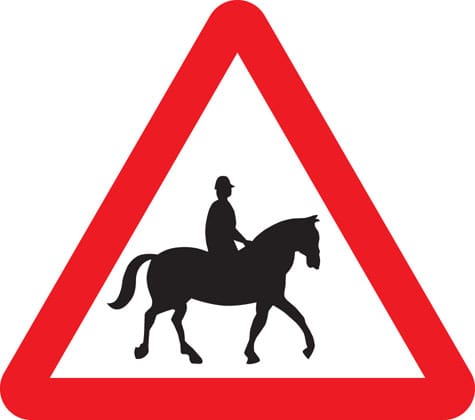
Accompanied horses or ponies
Accompanied horses or ponies - Image 1
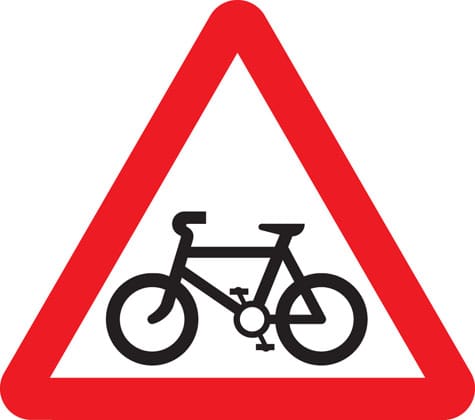
Cycle route ahead
Cycle route ahead - Image 1
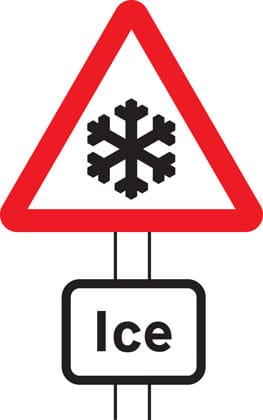
Risk of ice
Risk of ice - Image 1
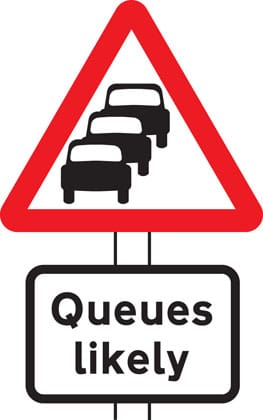
Traffic queues likely ahead
Traffic queues likely ahead - Image 1
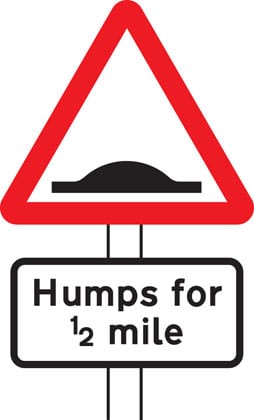
Distance over which road humps extend
Distance over which road humps extend - Image 1
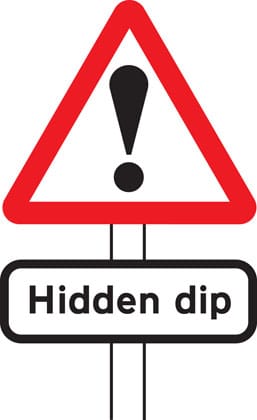
Other danger; plate indicates nature of danger
Other danger; plate indicates nature of danger - Image 1
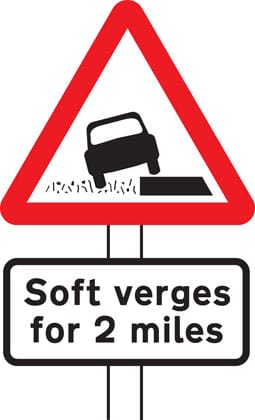
Soft verges
Soft verges - Image 1
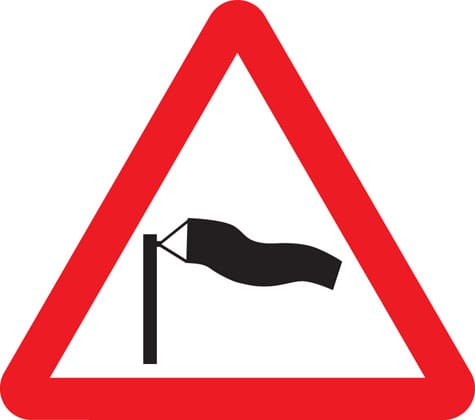
Side winds
Side winds - Image 1
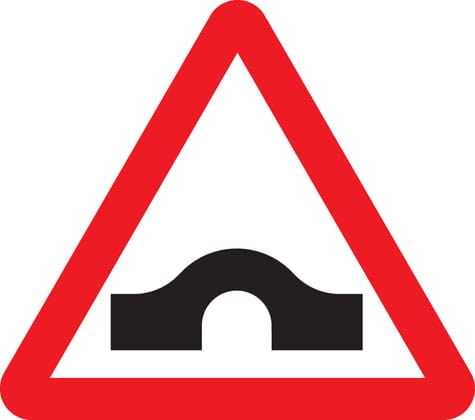
Hump bridge
Hump bridge - Image 1
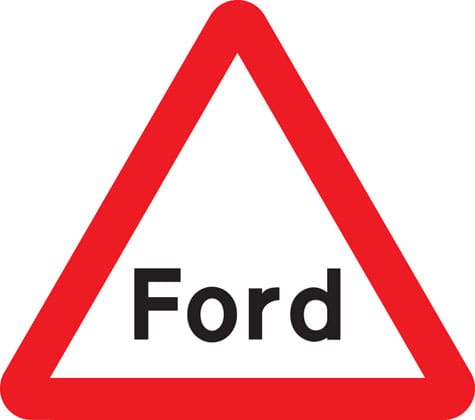
Worded warning sign
Worded warning sign - Image 1
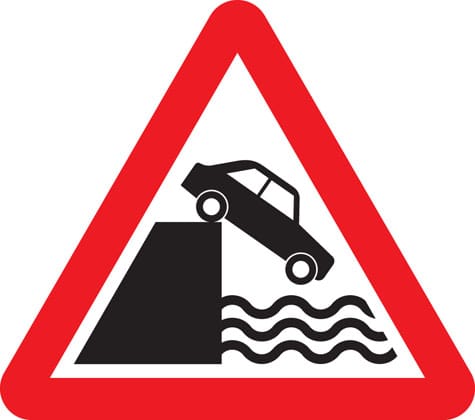
Quayside or river bank
Quayside or river bank - Image 1
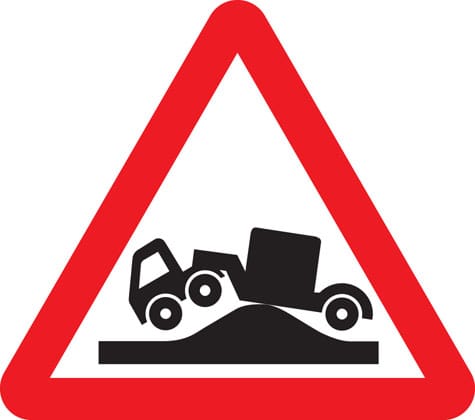
Risk of grounding
Risk of grounding - Image 1

Direction signs

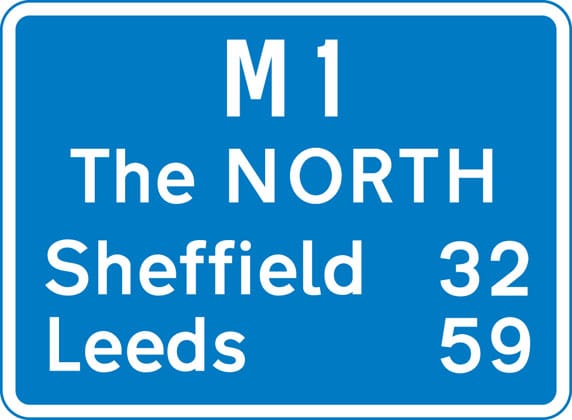
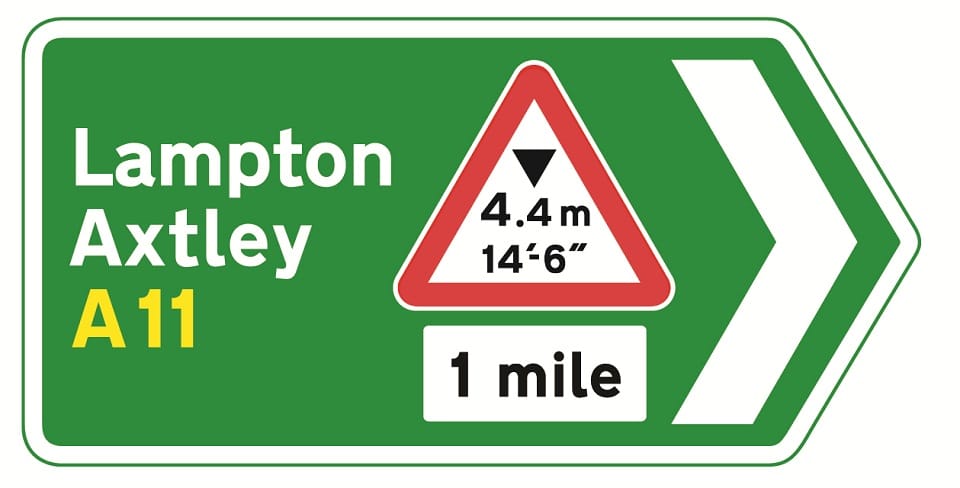
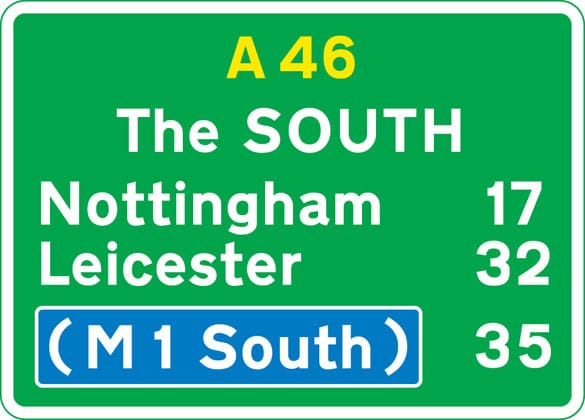
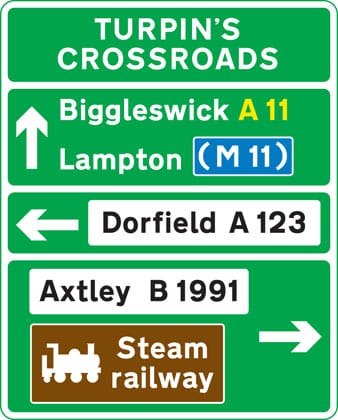
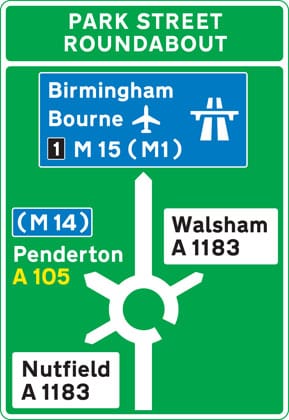
Signs on primary routes - green backgrounds

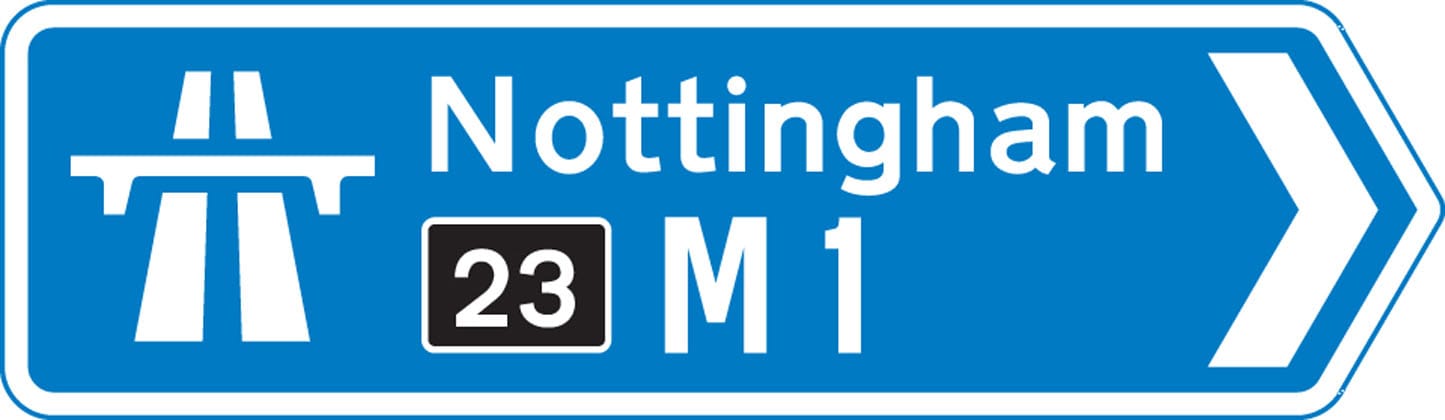
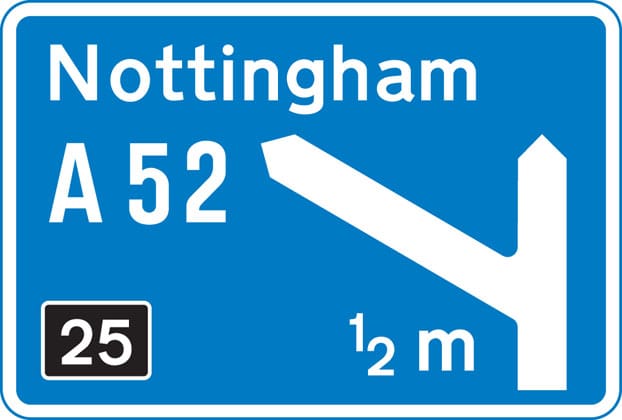
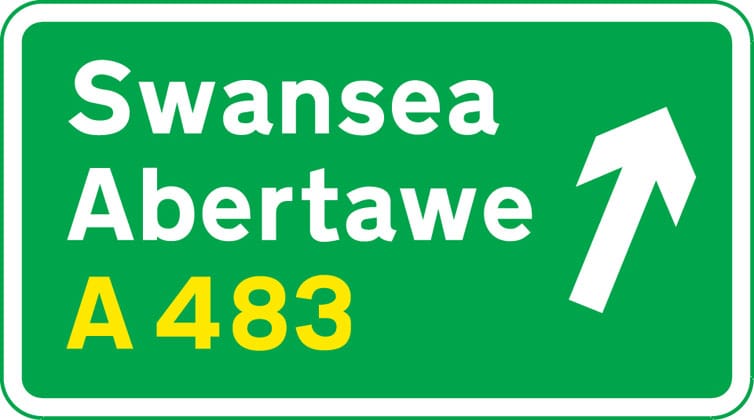
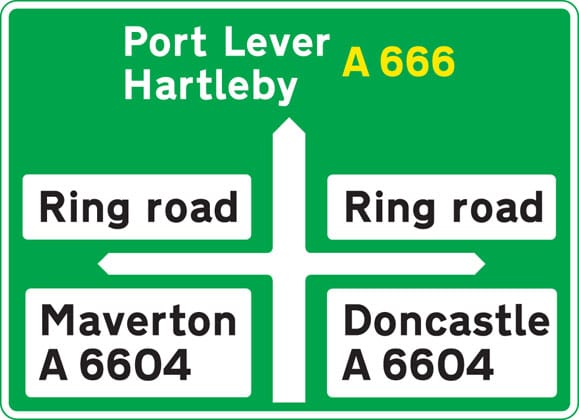
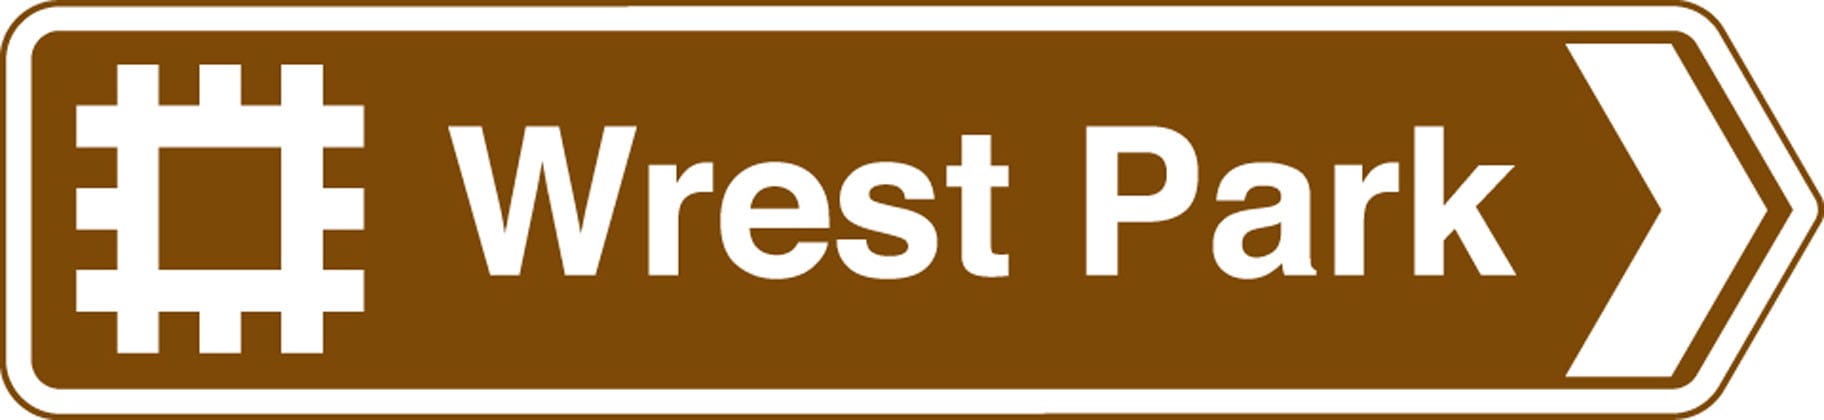
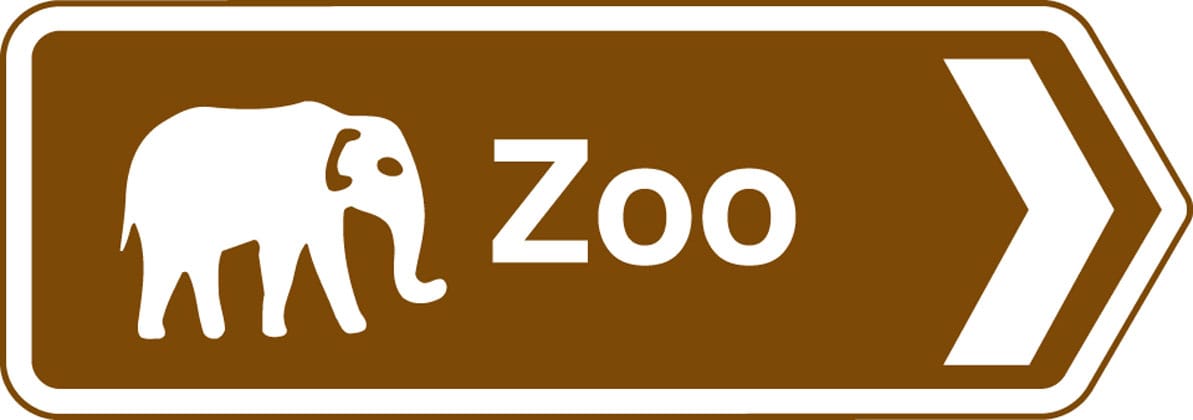
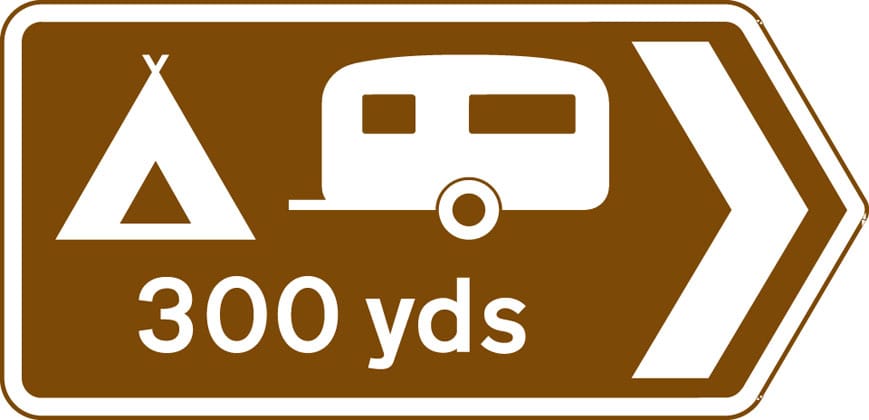
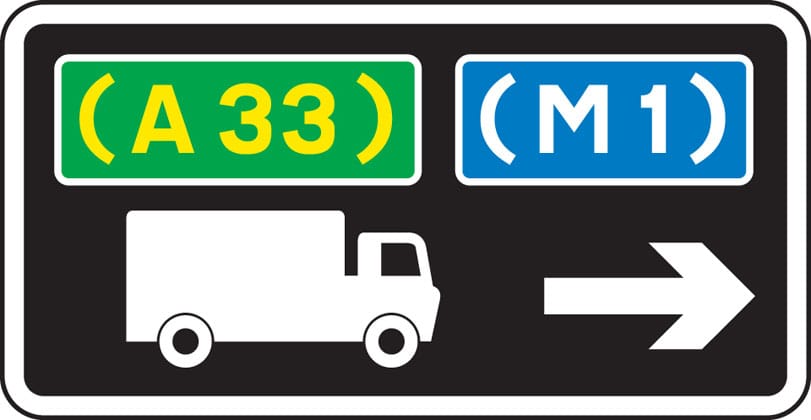
Blue panels indicate that the motorway starts at the junction ahead. Motorways shown in brackets can also be reached along the route indicated. White panels indicate local or non-primary routes leading from the junction ahead. Brown panels show the route to tourist attractions. The name of the junction may be shown at the top of the sign. The aircraft symbol indicates the route to an airport. A symbol may be included to warn of a hazard or restriction along that route.
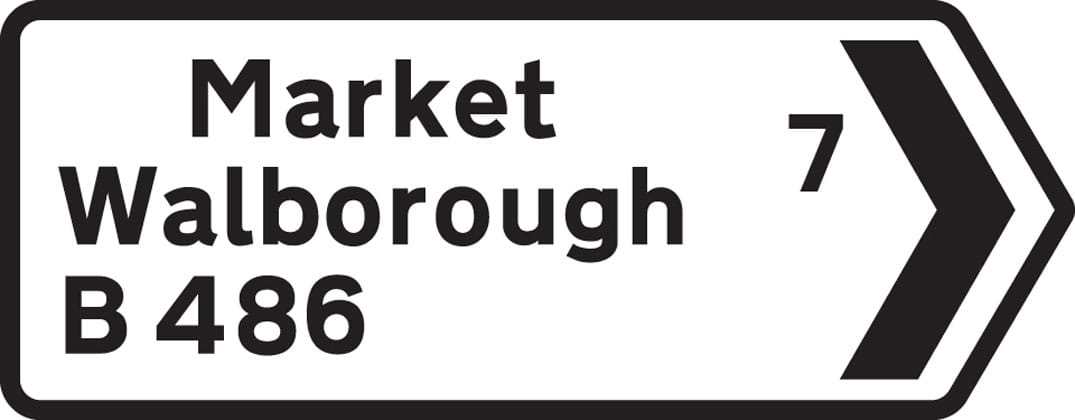
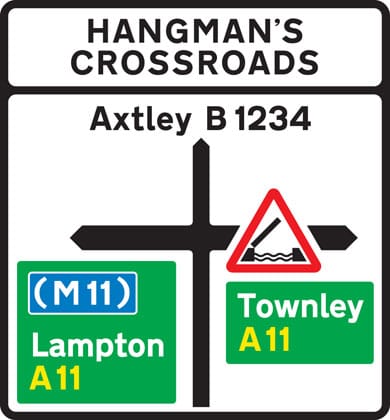
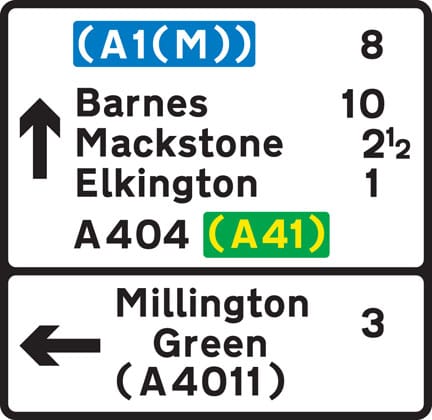
Signs on non-primary and local routes - black borders

Green panels indicate that the primary route starts at the junction ahead. Route numbers on a blue background show the direction to a motorway. Route numbers on a green background show the direction to a primary route.
Information signs

All rectangular

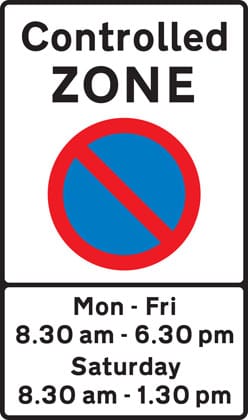
Entrance to controlled parking zone
Entrance to controlled parking zone - Image 1
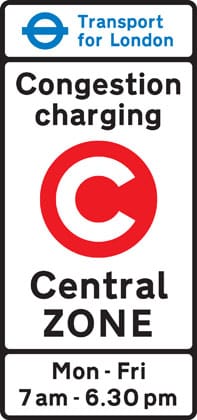
Entrance to congestion charging zone
Entrance to congestion charging zone - Image 1
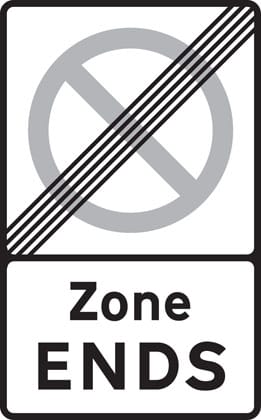
End of controlled parking zone
End of controlled parking zone - Image 1
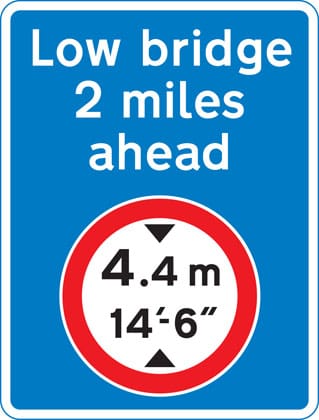
Advance warning of restriction or prohibition ahead
Advance warning of restriction or prohibition ahead - Image 1
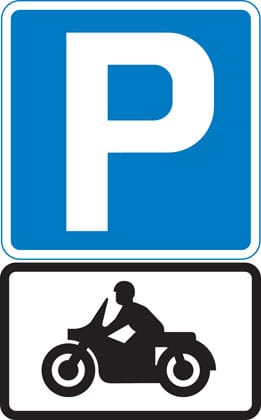
Parking place for solo motorcycles
Parking place for solo motorcycles - Image 1
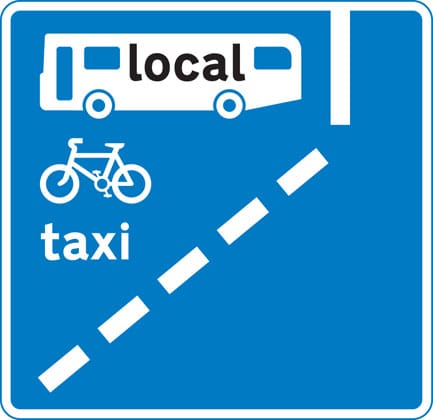
With-flow bus lane ahead which pedal cycles and taxis may also use
With-flow bus lane ahead which pedal cycles and taxis may also use - Image 1
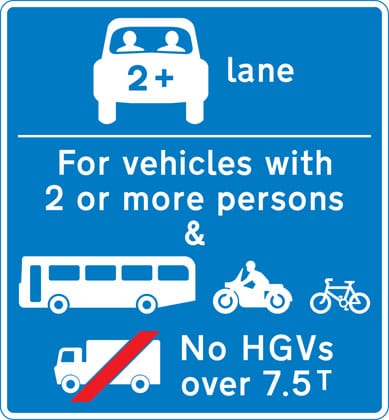
Lane designated for use by high occupancy vehicles (HOV) - see rule 142
Lane designated for use by high occupancy vehicles (HOV) - see rule 142 - Image 1
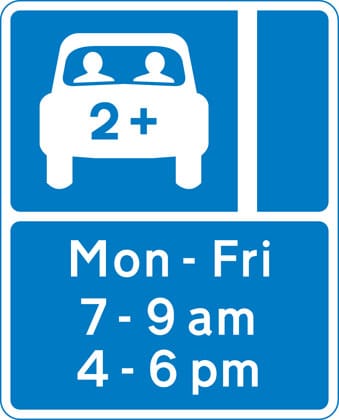
Vehicles permitted to use an HOV lane ahead
Vehicles permitted to use an HOV lane ahead - Image 1
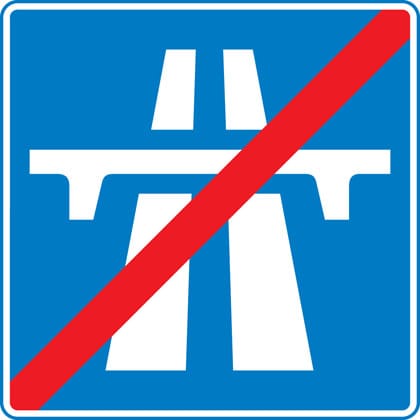
End of motorway
End of motorway - Image 1
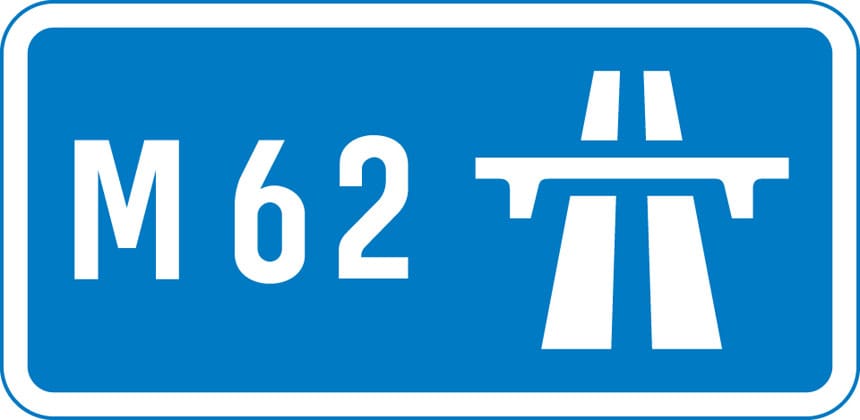
Start of motorway and point from which motorway regulations apply
Start of motorway and point from which motorway regulations apply - Image 1
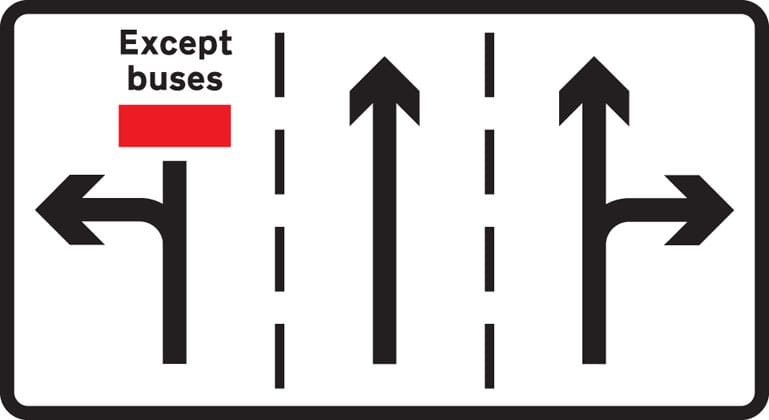
Appropriate traffic lanes at junction ahead
Appropriate traffic lanes at junction ahead - Image 1
Traffic on the main carriageway coming from right has priority over joining traffic
Traffic on the main carriageway coming from right has priority over joining traffic - Image 1
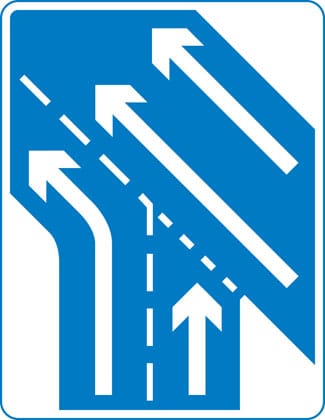
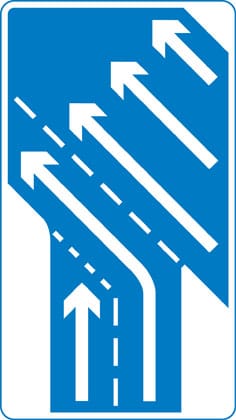
Additional traffic joining from left ahead. Traffic on main carriageway has priority over joining traffic from right hand lane of slip road
Additional traffic joining from left ahead. Traffic on main carriageway has priority over joining traffic from right hand lane of slip road - Image 1
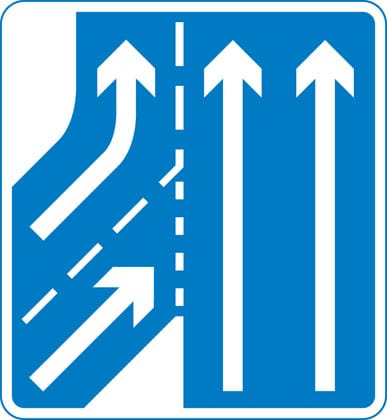
Traffic in right hand lane of slip road joining the main carriageway has priority over left hand lane
Traffic in right hand lane of slip road joining the main carriageway has priority over left hand lane - Image 1
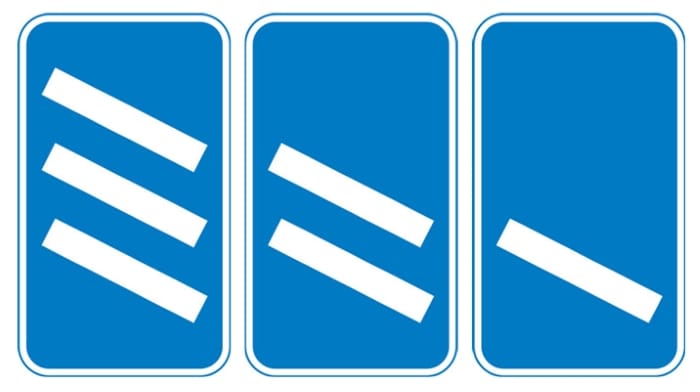
‘Countdown’ markers at exit from motorway (each bar represents 100 yards to the exit). Green-backed markers may be used on primary routes and white-backed markers with black bars on other routes. At approaches to concealed level crossings white-backed markers with red bars may be used. Although these will be erected at equal distances the bars do not represent 100 yard intervals.
‘Countdown’ markers at exit from motorway (each bar represents 100 yards to the exit). Green-backed markers may be used on primary routes and white-backed markers with black bars on other routes. At approaches to concealed level crossings white-backed markers with red bars may be used. Although these will be erected at equal distances the bars do not represent 100 yard intervals. - Image 1
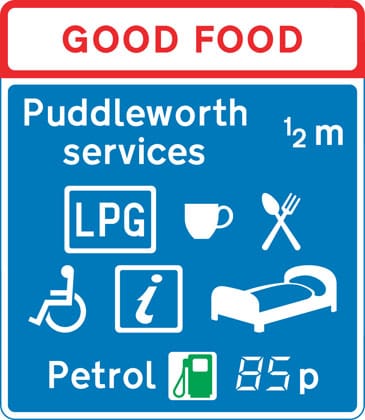
Motorway service area sign showing the operator’s name
Motorway service area sign showing the operator’s name - Image 1
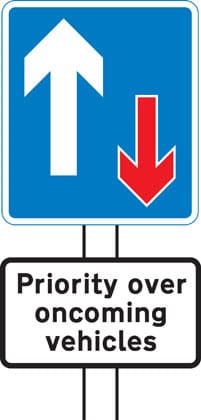
Traffic has priority over oncoming vehicles
Traffic has priority over oncoming vehicles - Image 1
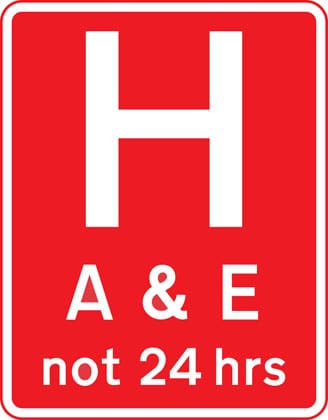
Hospital ahead with Accident and Emergency facilities
Hospital ahead with Accident and Emergency facilities - Image 1
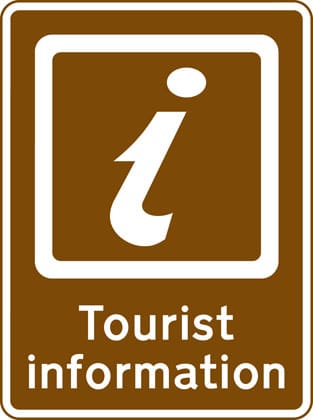
Tourist information point
Tourist information point - Image 1
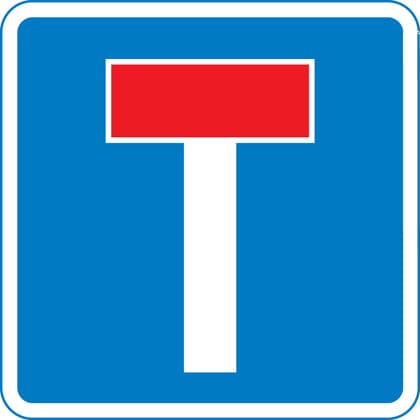
No through road for vehicles
No through road for vehicles - Image 1
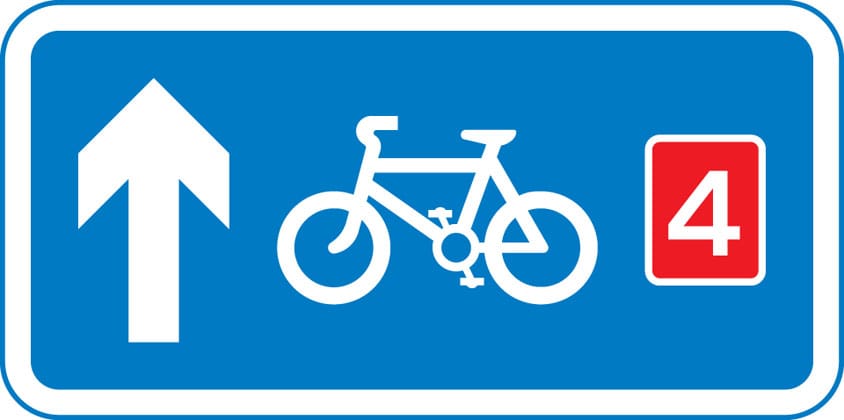
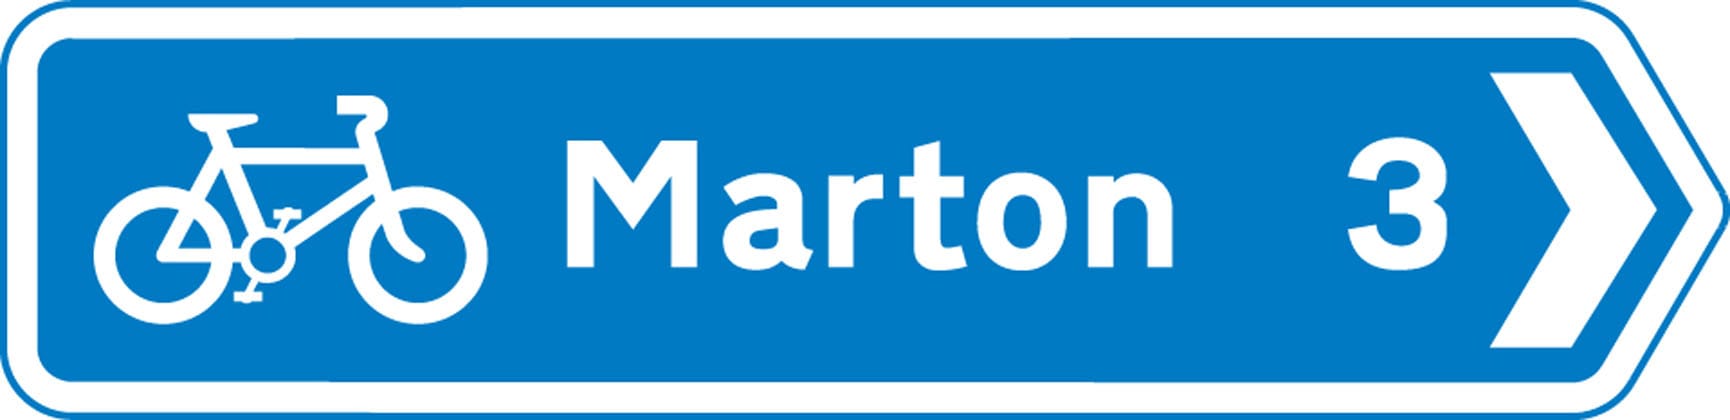
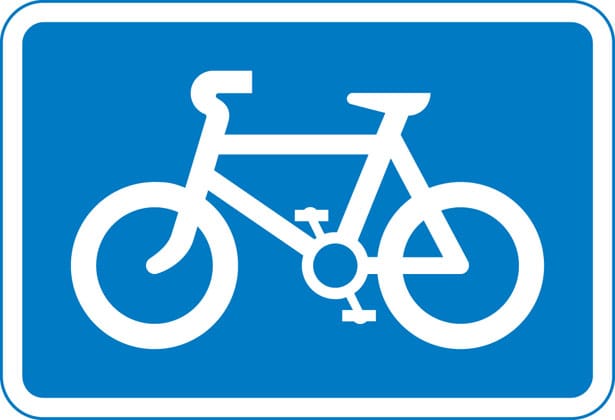
Recommended route for pedal cycles
Recommended route for pedal cycles - Image 1
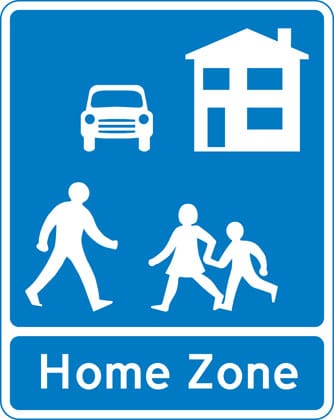
Home Zone Entry
Home Zone Entry - Image 1
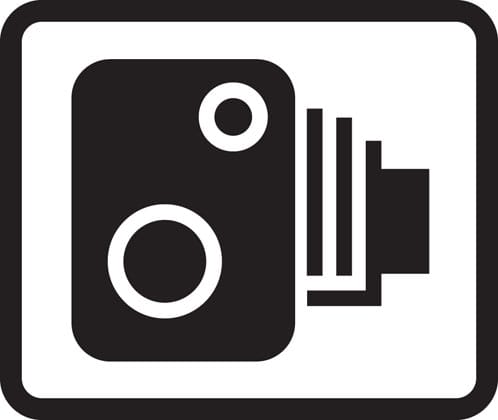
Area in which cameras are used to enforce traffic regulations
Area in which cameras are used to enforce traffic regulations - Image 1
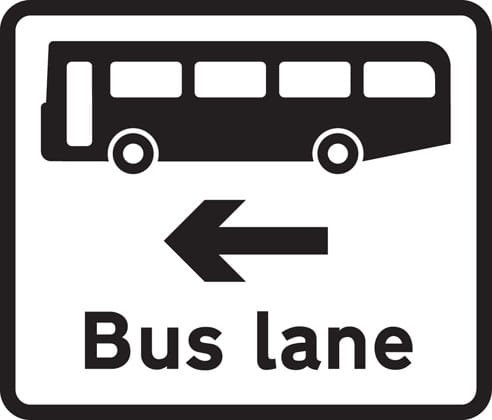
Bus lane on road at junction ahead
Bus lane on road at junction ahead - Image 1

How to read UK traffic signs

The shape and colour of a traffic sign tell you what kind of message it carries before you have read a word. Circular signs give orders: those with a red ring tell you what you must not do, while blue circles give a positive instruction, such as turn left ahead or keep to a minimum speed. Triangular signs with a red border warn you about hazards on the road ahead, from sharp bends and steep hills to schools and level crossings.

Rectangular signs give information and directions. Blue panels are used on motorways, green on primary routes and white on local routes. The stop sign is deliberately the only octagonal sign on British roads, so it can still be recognised by its shape alone even when partly covered in snow.

Theory test tip

In the theory test you are often shown a sign and asked what it means. Rather than memorising every sign individually, learn the shape and colour system first — it lets you work out the meaning of signs you have never seen before.